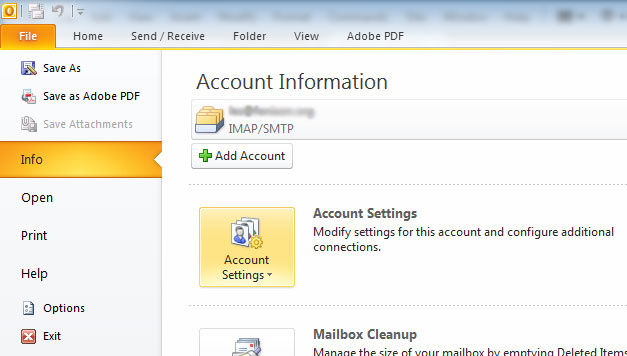
Click on Account Settings
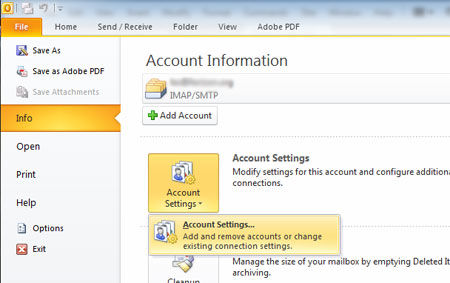
Click the box that appears below account settings that also says Account Settings
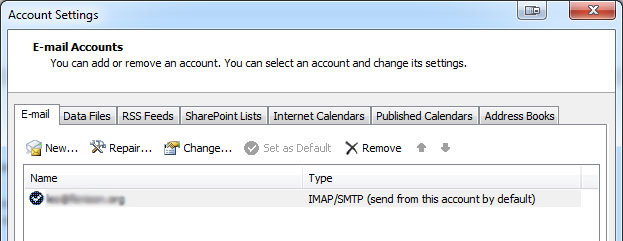
If you are modifying an existing account then.. In the box below, click the account you want to modify then click Change above it. You will need to repeat the rest of these steps for each account you have here at Delta Technical Services.
Or if adding a new account click New., then on the next screen click Manually confugure server settings, click next, select internet e-mail and click next. then follow the rest of the steps below.
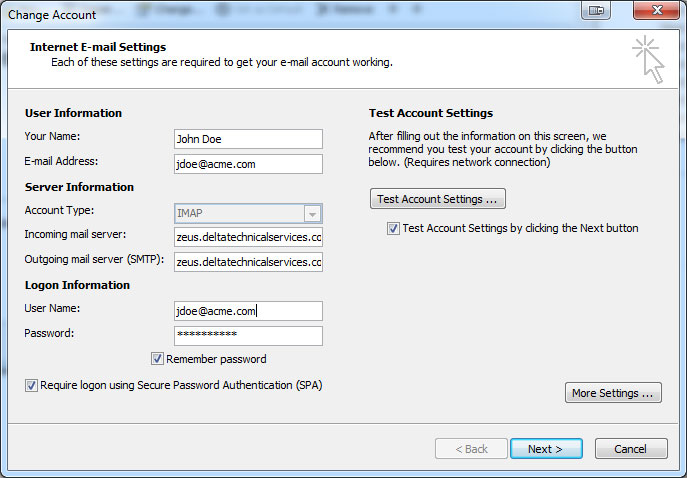
Enter your name and email address. Select IMAP, and set both the incoming mailserver and Outgoing Mail Server (SMTP) to zeus.deltatechnicalservices.com as shown below.
Enter your username which is your full email address.
If you are simply changing an existing account there is no need to update the password and you shouldn't do so unless you are sure you have the correct password.
Click on More Settings on the screen above.
Make your settings look exactly like below.. Note that when changing the type of encrypted connection, the Incoming Server and Outgoing server will change, be sure they match what you see below.
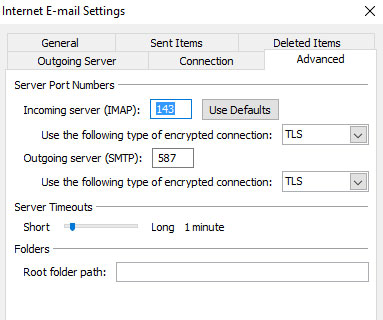
That completes the settings, now click OK to save these changes.
Next click on Test Account Settings, Two testing tasks will occur and both should have a status of Completed. Click close
Click NEXT to save everything... The test will run again, just click close when it completes.
Click Finish and you are ready to send and receive email.
